
Lava lamps have fascinated both kids and adults for decades. They mix science and art into one mesmerizing experience—bubbles of color rising and falling, creating a glowing, liquid dance. Making DIY lava lamps is a simple, hands-on way for kids to explore density, chemical reactions, and color mixing.
This guide presents 10 creative lava lamp projects perfect for home, classrooms, and rainy-day experiments. Each includes a list of materials, step-by-step directions, kid-safe variations, and image prompts to inspire your setup.
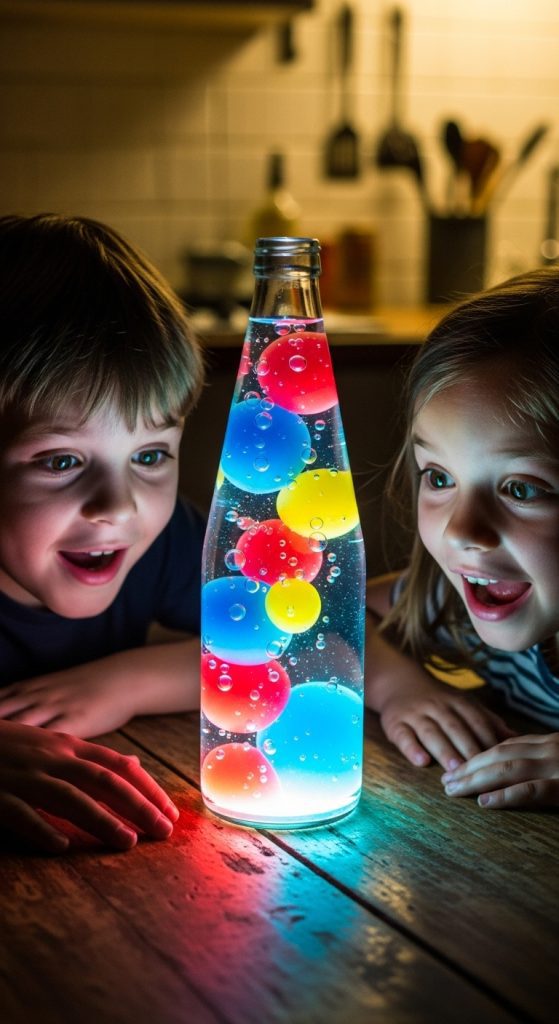
1. Classic Liquid Lava Lamp with Oil and Water
Best for: Science experiments and first-time makers.
Things You’ll Need:
- Clear plastic or glass bottle (tall shape works best)
- Vegetable oil
- Water
- Food coloring
- Alka-Seltzer tablets (or similar effervescent tablets)
How to Make:
- Fill the bottle about two-thirds full with vegetable oil.
- Slowly add water, leaving an inch of space at the top.
- Add 8–10 drops of food coloring (it mixes only with water, not oil).
- Drop in half an Alka-Seltzer tablet and watch bubbles rise and fall.
- When the fizzing stops, add another tablet to continue the lava effect.
Why It Works:
Oil and water don’t mix because oil is less dense. The rising bubbles form when carbon dioxide gas pushes the colored water upward through the oil layer.
2. Glow-in-the-Dark Lava Lamp
Best for: Night science fun.
Things You’ll Need:
- Clear plastic bottle
- Vegetable oil and water
- Glow stick liquid or glow-in-the-dark paint (non-toxic)
- Alka-Seltzer tablets
How to Make:
- Carefully crack open a glow stick (with adult supervision) and pour the glowing liquid into a mix of water.
- Fill your bottle two-thirds with oil, then add the glowing water mixture.
- Drop in half an Alka-Seltzer tablet to activate the bubbles.
- Turn off the lights and see the glowing blobs move magically.
Safety Note: Never allow direct contact of glow stick substances with skin or mouth—always wear gloves.

3. Rainbow Lava Lamp
Best for: Learning about color layering.
Things You’ll Need:
- Clear jar or bottle
- Vegetable oil
- Water
- Food coloring in multiple shades
- Small cups
- Alka-Seltzer tablets
How to Make:
- Prepare separate small cups of water, each dyed a different color.
- Fill the bottle with vegetable oil until it’s two-thirds full.
- Add each color layer slowly, pouring in a few tablespoons at a time.
- Drop in small pieces of Alka-Seltzer, and enjoy the rainbow bubbles rising in waves of color.

4. Glitter Lava Lamp
Best for: Artistic craft-lovers who like sparkle.
Things You’ll Need:
- Clear bottle or jar
- Vegetable oil
- Water
- Fine glitter
- Food coloring
- Alka-Seltzer tablets
How to Make:
- Mix a few drops of food coloring in water and pour into the oil-filled bottle.
- Add glitter for sparkle.
- Drop in an Alka-Seltzer tablet and watch shimmering globules rise.
- The glitter catches light as it moves, giving a magical snow-globe effect.

5. Lava Lamps in Test Tubes
Best for: Mini science experiments and school fairs.
Things You’ll Need:
- Clear plastic test tubes with stoppers
- Water and oil
- Food coloring
- Effervescent tablets (broken in tiny pieces)
How to Make:
- Fill the test tubes with one-third water and two-thirds oil.
- Add a few drops of food coloring to tint the water.
- Drop small Alka-Seltzer pieces into each tube.
- Seal lightly and observe different bubbles in each tube.
Variation: Try using different colors in each tube for a “science rainbow.”

6. Lava Lamp Sensory Bag (No Breakable Parts)
Best for: Toddlers and sensory play sessions.
Things You’ll Need:
- Heavy-duty ziplock bag
- Baby oil
- Colored water (food dye mixed with water)
- Glitter or glitter glue
- Tape
How to Make:
- Fill the bag halfway with baby oil, then add the colored water.
- Seal tightly and reinforce edges with tape.
- Press and squish to create slow-moving bubbles and shimmer.
Why It Works:
It feels calming and safe for small hands, great for exploring textures without mess.

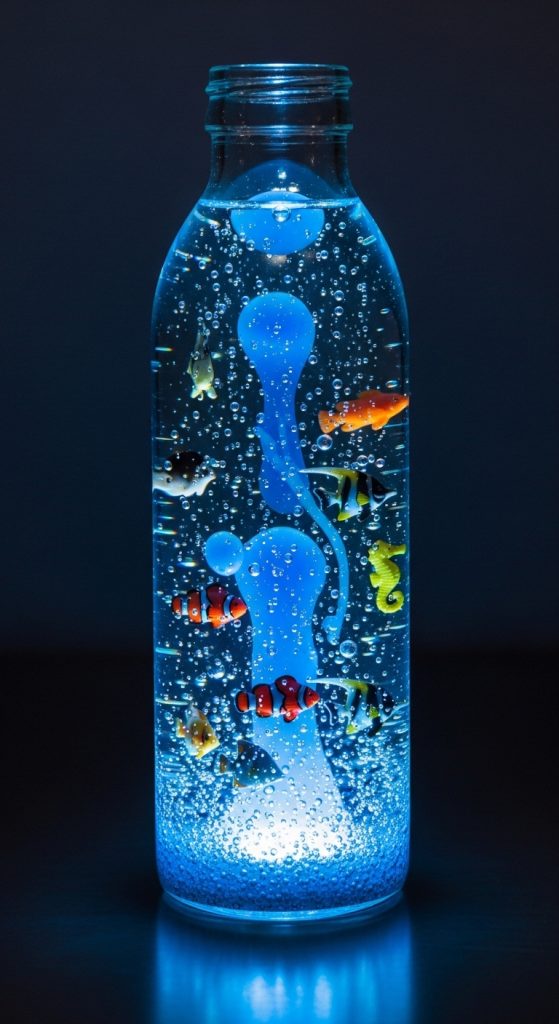
7. Under-the-Sea Lava Lamp
Best for: Ocean-themed crafts and STEM lessons.
Things You’ll Need:
- Clear jar or bottle
- Oil and water
- Blue food coloring
- Small ocean toys (fish, shells, mermaids)
- Glitter or sequins
- Alka-Seltzer tablets
How to Make:
- Mix blue food coloring with water.
- Add it to a bottle two-thirds filled with oil.
- Drop a few tiny plastic sea creatures inside.
- Add glitter for extra sparkle.
- Drop in an Alka-Seltzer tablet and enjoy your moving “sea.”
8. Color-Changing Lava Lamp (Using Light)
Best for: Older kids exploring color and optics.
Things You’ll Need:
- Clear bottle
- Oil and colored water
- LED base light (color-changing or single-color)
- Alka-Seltzer tablets
How to Make:
- Prepare a standard lava lamp mix (oil, water, food dye).
- Place it on top of the LED light base.
- Activate the bubbles with an Alka-Seltzer tablet.
- Watch how light enhances color changes as blobs move.
Tip: Try red, blue, or neon green lights for different effects.

9. Eco-Friendly Recycled Lava Lamp
Best for: Teaching sustainability and recycling.
Things You’ll Need:
- Used water bottle (cleaned and dry)
- Cooking oil (reused or leftover)
- Colored water (natural dyes or food coloring)
- Baking soda and vinegar (instead of Alka-Seltzer)
How to Make:
- Mix half a teaspoon of baking soda into the colored water.
- Pour oil into the bottle, then slowly add the colored mixture.
- Add a few drops of vinegar to create fizzing bubbles.
- Watch the “lava” flow and teach how small reactions work.

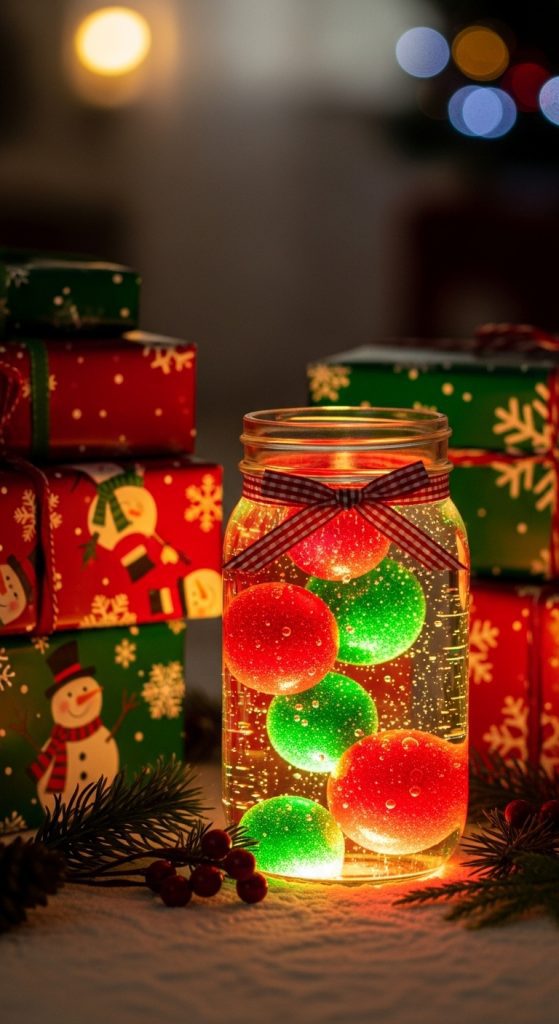
10. Holiday-Themed Lava Lamp
Best for: Festive decorations and seasonal crafts.
Things You’ll Need:
- Clear jar or vase
- Water and oil
- Red and green (Christmas), orange and black (Halloween), or pink and purple (Valentine’s) food coloring
- Glitter matching the holiday color scheme
- Alka-Seltzer tablets
How to Make:
- Fill oil and colored water layers in chosen festive shades.
- Add glitter or themed confetti (tiny stars, hearts, or snowflakes).
- Drop in Alka-Seltzer to make colorful streams bubble upward.
- Display during parties or holiday nights as decorative lighting.
Educational Insight: The Science Behind Lava Lamps
- Density Difference: Oil floats on water because it’s lighter (less dense).
- Fizz Reaction: Effervescent tablets or vinegar release carbon dioxide gas, carrying water upward through the oil layer.
- Color Separation: Food coloring only mixes with water, creating vibrant moving streaks.
Simple STEM Lesson Idea:
Ask kids what happens when they use warm water versus cold water. The bubbles rise faster in warm water because temperature affects gas activity and density.
Fun Ways to Customize Lava Lamps
- Swap the oil type (use baby oil for extra clarity).
- Use multiple small jars for different themes—space, sea, garden, or galaxy.
- Add glitter glue or sequins for dreamy effects.
- Experiment with shape: round jars, tall bottles, or small test tubes produce unique bubble movement.
Display and Safety Tips
- Always use plastic bottles for young children—avoid breakable glass.
- Do not seal tightly if using vinegar-based projects; allow gas to escape.
- Keep lava lamps away from direct sunlight or heat.
- Label and store each lamp if used for science demonstrations.
- Clean bottles thoroughly before reusing to prevent buildup.
Creative Experiment Ideas for Kids
- Add a timer challenge: estimate how long bubbles take to travel up and down.
- Create a bubble race: two colors in separate jars compete to see which reacts faster.
- Mix up the liquid ratios: test how much oil or water changes lava speed.
- Use multiple lights: experiment with how colored bulbs affect each lava type.
Bringing It All Together
DIY lava lamps mix learning and joy into dazzling sensory play. For kids, they’re a gateway to understanding chemistry, physics, and creative design—all disguised as fun. Whether you craft one classic glowing bottle or experiment with several versions, these little projects never lose their charm.
From rainbow bubbles to glowing midnight jars, every homemade lava lamp reminds kids that science can be magical when imagination takes the lead.


